The LEMP stack is a group of software used to serve websites or dynamic web applications. LEMP stands for Linux operating system, with the Nginx web server. The data is stored in a MySQL or MariaDB database and dynamic processing is handled by PHP.
Below is a detailed article on how to install the LEMP stack on Ubuntu 18.04. Don’t forget you can sign up for a free Ubuntu VPS at Amazon AWS within 1 year.
Step 1: Update the software package
Before we install LEMP, it’s best to update the software packages on your system by running the following commands on your Ubuntu 18.04 operating system.
sudo apt update
sudo apt upgrade
Step 2: Install NGINX
Nginx is a high performance and very popular web server today. It can also be used as a web server, caching, reverse proxy and many other applications.
Enter this command to install the Nginx Web server.
sudo apt install nginx
After successful installation, to make sure NGINX will automatically launch after booting the operating system, run the following command:
sudo systemctl enable nginx
Now check if NGINX has run.
systemctl status nginx
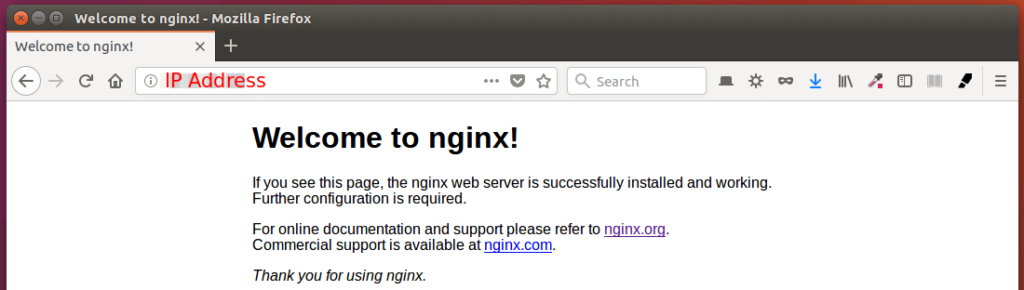
Access to public IP by browser. You will see “Welcome to Nginx”. Thus Nginx Web server is up and running. In case of using a personal computer, you access the IP address127.0.0.1
Finally, we need to delegate www-data (Nginx User) the owner of the web directory. By default, it is owned by the root user.
sudo chown www-data:www-data /usr/share/nginx/html -R
Step 3: Install MariaDB
MariaDB is an alternative to MySQL. It was developed by former members of the MySQL team, who were concerned that Oracle could turn MySQL into a closed source product. Enter the following command to install MariaDB on Ubuntu 18.04.
sudo apt install mariadb-server mariadb-client
After successful installation, MariaDB will start automatically. Use the command systemctl to check status. If MariaDB is not working, use the following command to launch:
sudo systemctl start mariadb
In order for MariaDB to automatically launch with the system we use the following command:
sudo systemctl enable mariadb
The next step is to configure security for MariaDB
sudo mysql_secure_installation
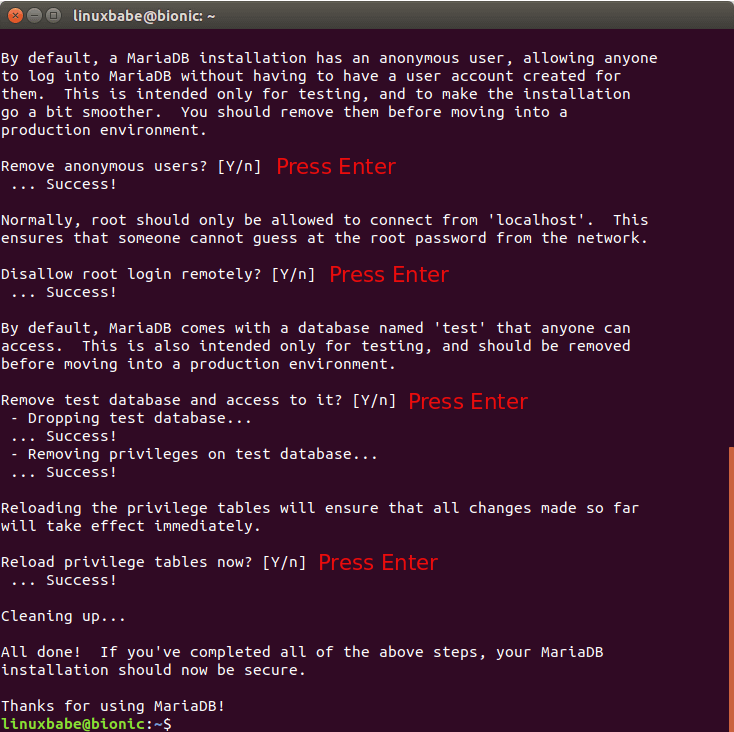
When it asks you to enter the MariaDB root password, press the Enter key because the root password is not installed. Then enter y to set the password for MariaDB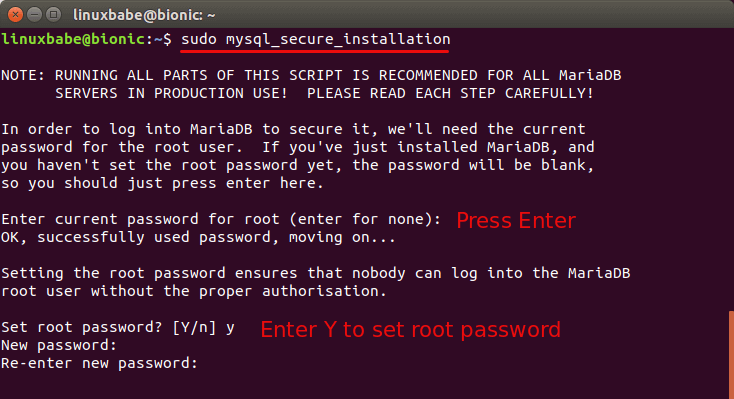
Next, you can press Enter to answer all the remaining questions, will delete anonymous users, disable remote root login and delete test database.
This step is a basic requirement for securing the MariaDB database. (Note that Y is capitalized, meaning that is the default answer.)
By default, the MariaDB package on Ubuntu is used unix_socket to authenticate user logins, which means you can use the OS username and password to log into the MariaDB control panel. Therefore, you can run typing MariaDB using the command line without providing a password.
Step 4: Install PHP7.2
PHP7.2 is included in the Ubuntu 18.04 archive and has a small performance improvement over PHP7.0. Enter the following command to install php7.2 and some common extensions
sudo apt install php7.2 php7.2-fpm php7.2-mysql php-common php7.2-cli php7.2-common php7.2-json php7.2-opcache php7.2-readline php7.2-mbstring php7.2-xml php7.2-gd php7.2-curl
PHP extensions are often needed for content management systems (CMS) like WordPress. For example, if your installation is missing php7.2-xml, then some pages on your WordPress site may be empty and you may find errors in the Nginx error log like:
PHP message: PHP Fatal error: Uncaught Error: Call to undefined function xml_parser_create()
Installing these PHP extensions ensures that your CMS runs smoothly. Now launch php7.2-fpm
sudo systemctl start php7.2-fpm
The default runs with the system
sudo systemctl enable php7.2-fpm
Step 5: Create Nginx Server Block
Nginx server block is like a virtual host in Apache. We will not use the default configuration of Nginx because it is very complex and there are many unnecessary things. Please delete the default configuration file of Nginx in the directory /etc/nginx/sites-enabled with the following command. (Remember to keep the original file in the folder /etc/nginx/sites-available/default in case something goes wrong.)
sudo rm /etc/nginx/sites-enabled/default
Then start creating a new configuration file in the directory path /etc/nginx/conf.d/
sudo nano /etc/nginx/conf.d/default.conf
The following configuration tells Nginx Web server to run on IPv4 and IPv6 with any domain name pointing to your Public IP.
server {
listen 80;
listen [::]:80;
server_name _;
root /usr/share/nginx/html/;
index index.php index.html index.htm index.nginx-debian.html;
location / {
try_files $uri $uri/ /index.php;
}
location ~ \.php$ {
fastcgi_pass unix:/run/php/php7.2-fpm.sock;
fastcgi_param SCRIPT_FILENAME $document_root$fastcgi_script_name;
include fastcgi_params;
include snippets/fastcgi-php.conf;
}
# A long browser cache lifetime can speed up repeat visits to your page
location ~* \.(jpg|jpeg|gif|png|webp|svg|woff|woff2|ttf|css|js|ico|xml)$ {
access_log off;
log_not_found off;
expires 360d;
}
# disable access to hidden files
location ~ /\.ht {
access_log off;
log_not_found off;
deny all;
}
}
Save and close the file. Then check Nginx configuration
sudo nginx -t
If the test succeeds, restart Nginx
sudo systemctl restart nginx
Step 6: Test PHP
To test PHP-FPM with Nginx Web server, we need to create the file info.php in the server’s root directory.
sudo nano /usr/share/nginx/html/info.php
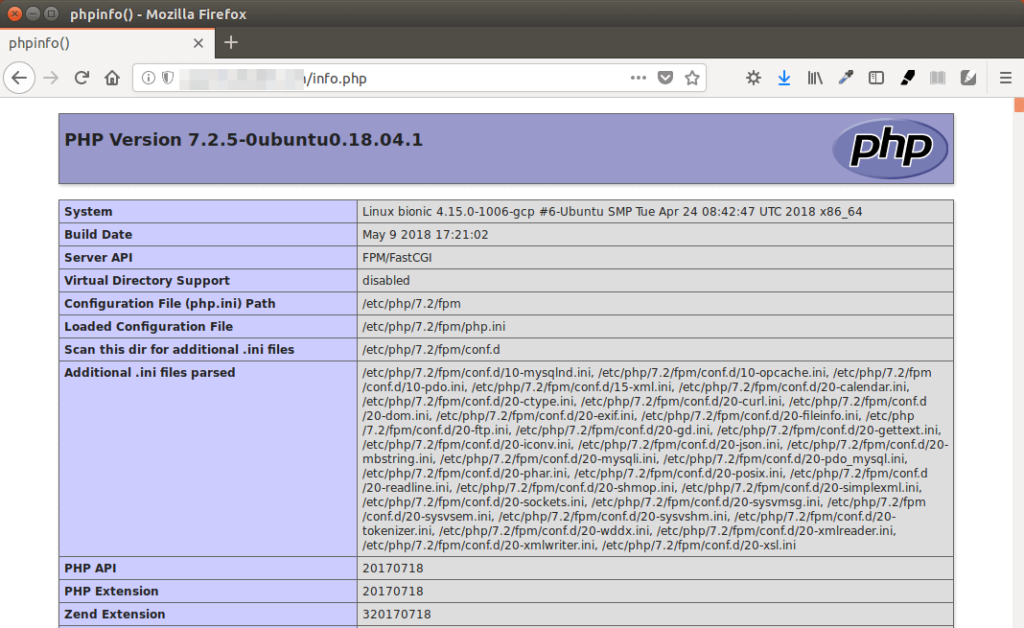
Use the phpinfo () function to check
Save and close the file. Now in the browser address bar, type server-ip-address/info.php. Replace sever-ip-address with your actual IP. If you follow this guide on your local computer, enter 127.0.0.1/info.php; or localhost/info.php.
You should see your server’s PHP information. This means that the PHP scripts can run properly with the Nginx web server.
Congratulations! You have successfully installed Nginx, MariaDB, and PHP7.2 on Ubuntu 18.04. To secure your server, you should delete the file info.php now to prevent hackers from seeing it.
sudo rm /usr/share/nginx/html/info.php
Good luck to you!